Deploying vCloud Connector 2.6 and Configuring For vCHS (Part 3)
In Part 1 we showed you how to deploy vCloud Connector 2.6, and in Part 2 we showed you how to configure it.
Here in Part 3 we will show you how to migrate a workload from your private cloud to your public cloud.
Lets go back to our vCenter and select our vCloud Connector Plugin
Expand your vCenter and select the folder that contains the VM you wish to copy to vCHS. (The source VM must be powered off)
Select your VM and select the Copy Icon

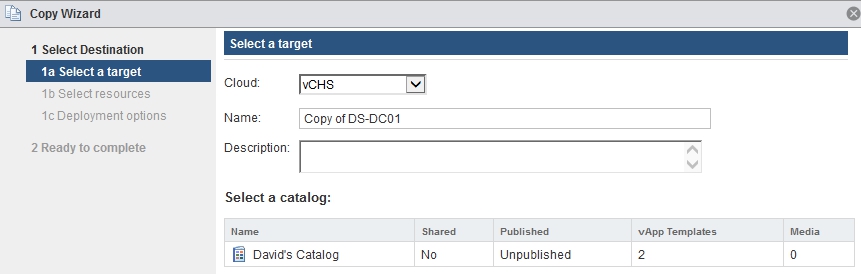
Here we will select our vCHS Cloud Node. Enter in a name for our VM and select which catalog in vCHS we wish to assign it to.
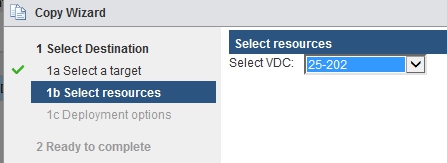
Select your vDC you wish you deploy the VM to.
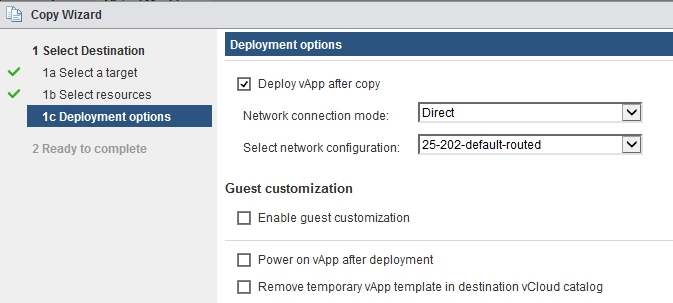
From here we have two options. If we already have a vApp in vCHS we we to use we will leave all the boxes unchecked.
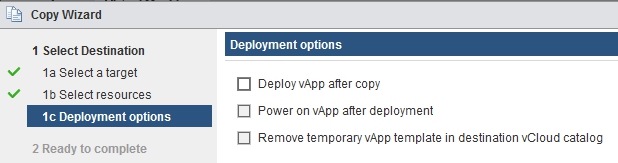
However if you do not have an existing vApp we will need to Deploy a vApp after copy. Here we will select the network mode (direct or fenced) and which network we wish to use. Make sure to UNCHECK guest customization as you will not want your VM to be re-sysprepped. You can then automatically choose to power on your vApp and remove the temporary one if needed.
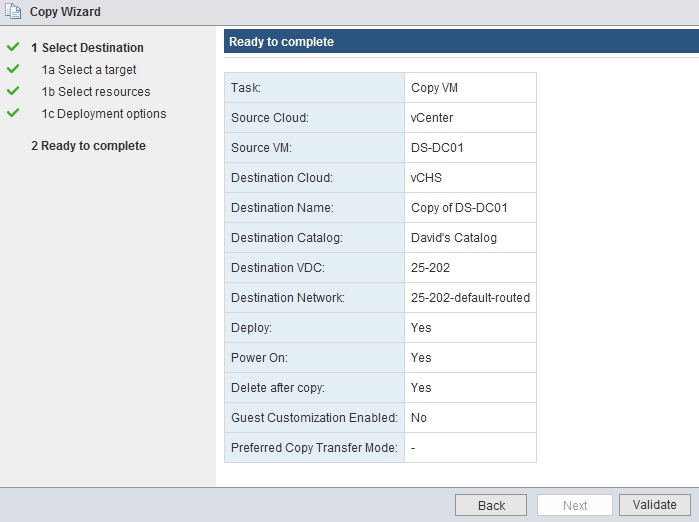
Next we will review our copy settings and choose validate.
You may receive an error about the staging space. This means you need to increase the disk space on the vCloud Connector Node to be equal to the size of the VM you are trying to migrate. In my case my VM was thin provisioned so there was no issue with this warning.
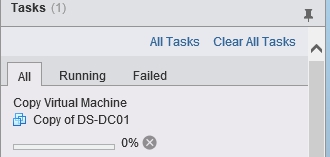
Select Finish and you will see your VM Copy begin.
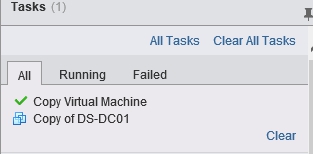
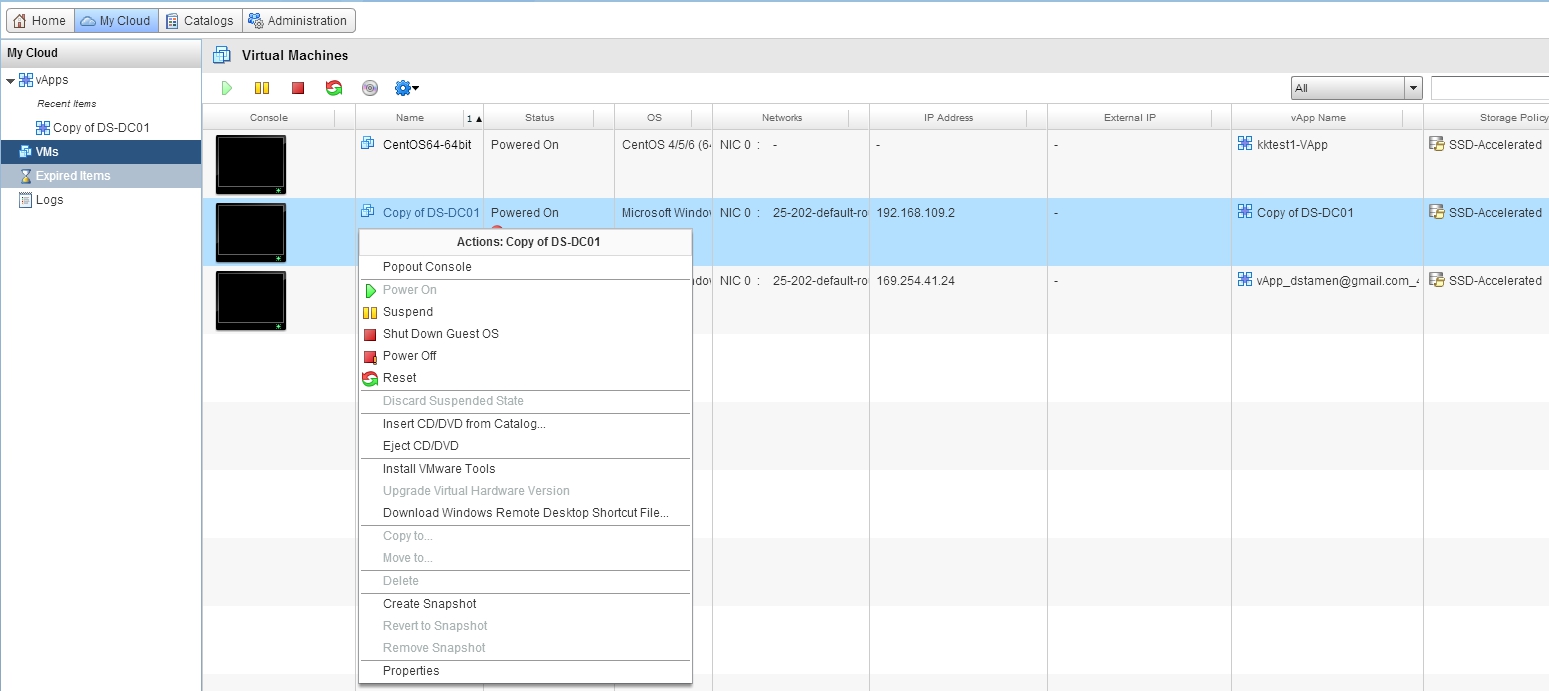
Once the copy completes we can now navigate to our vCHS console and view our VM.
Lets navigate to https://vchs.vmware.com and logon. Lets select our VDC and select our Virtual Machines and now see our new workload.

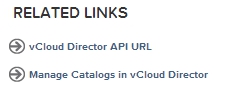
If we wanted to modify the virtual machine/vAPP under related links we can “Manage Catalogs in vCloud Director”
If we select My Cloud, and then VM’s we can see our VM’s and shutdown and edit any settings we need and then power back on.
Now we have migrated a workload from our private cloud to our public cloud! Hope this has helped you with any testing you need!
comments powered by Disqus