- Part 4: Deploying vSphere with Kubernetes - Enabling vSphere with Kubernetes
Part 4: Deploying vSphere with Kubernetes - Enabling vSphere with Kubernetes
vSphere 7 with Kubernetes is finally here and I couldn’t be more excited for it to be available. This blog series will cover the requirements, prequisites and deployment steps in order to deploy a vSphere with Kubernetes (vk8s) environment using vSphere 7 and NSX-T 3.0.
In Part 4 we now deploy vSphere with Kubernetes! All the preparation you have done is now for this moment, infrastructure is deployed and networking is configured! The next section will cover enabling your environment’s first supervisor cluster.
Lets Begin!
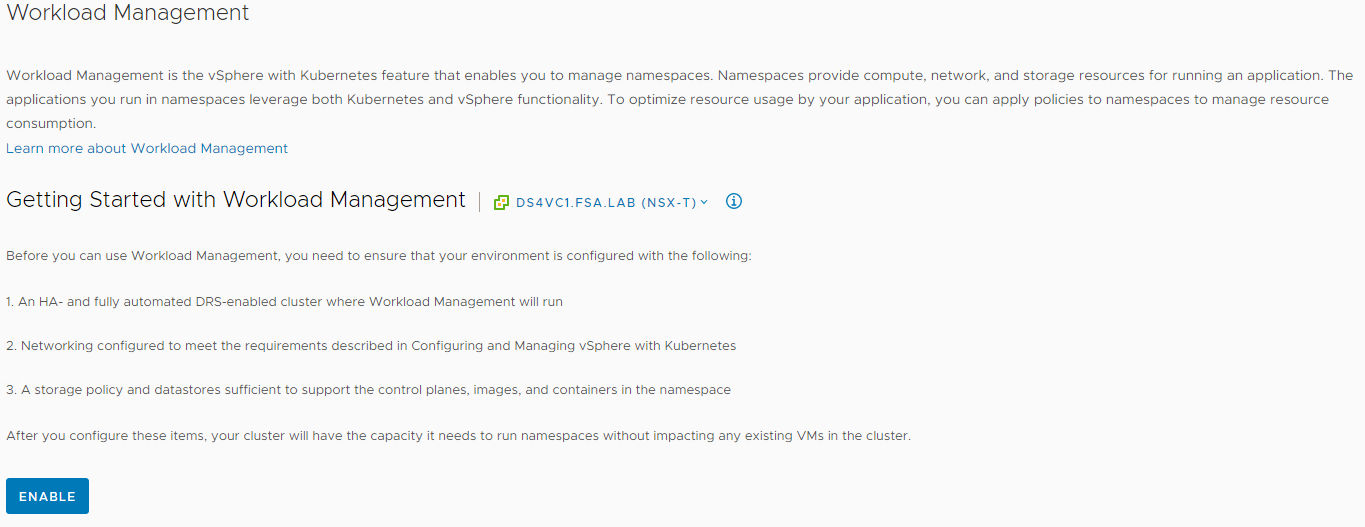
Navigate to Menu -> Workload Management. If we licensed our components and connected NSX correctly we should be ready to click Enable
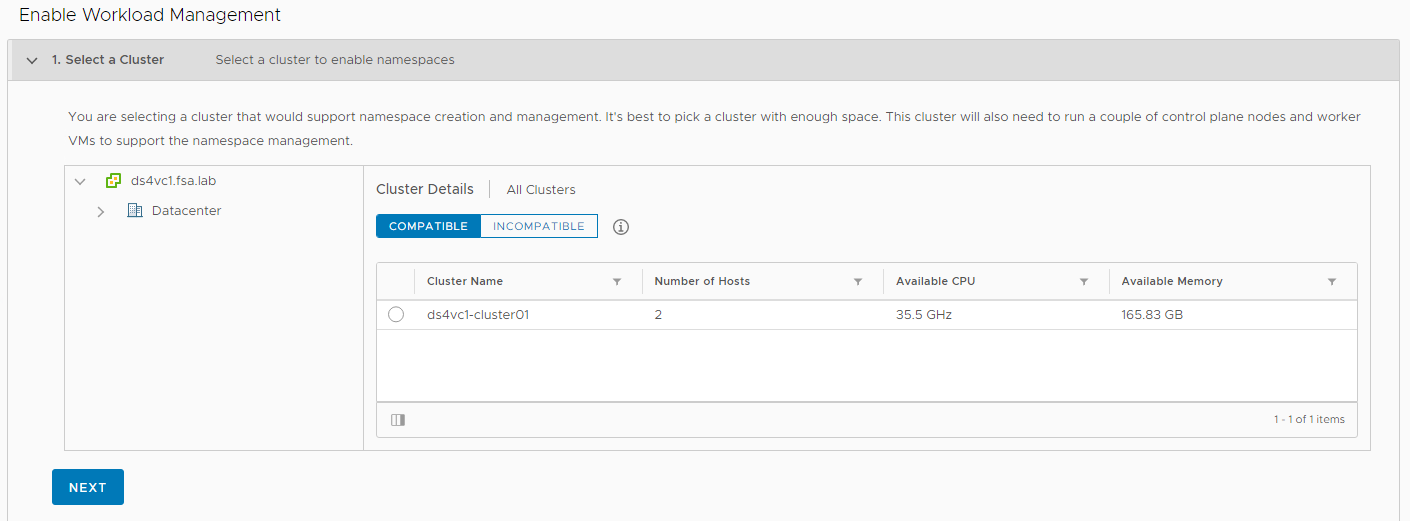
Validate your cluster is Compatible. If it shows up under incompatible, it can be for a variety of reasons. For more details you can view /var/log/vmware/wcp/nsxd.log and /var/log/vmware/wcp/wcpsvc.log and they will provide the details on why.
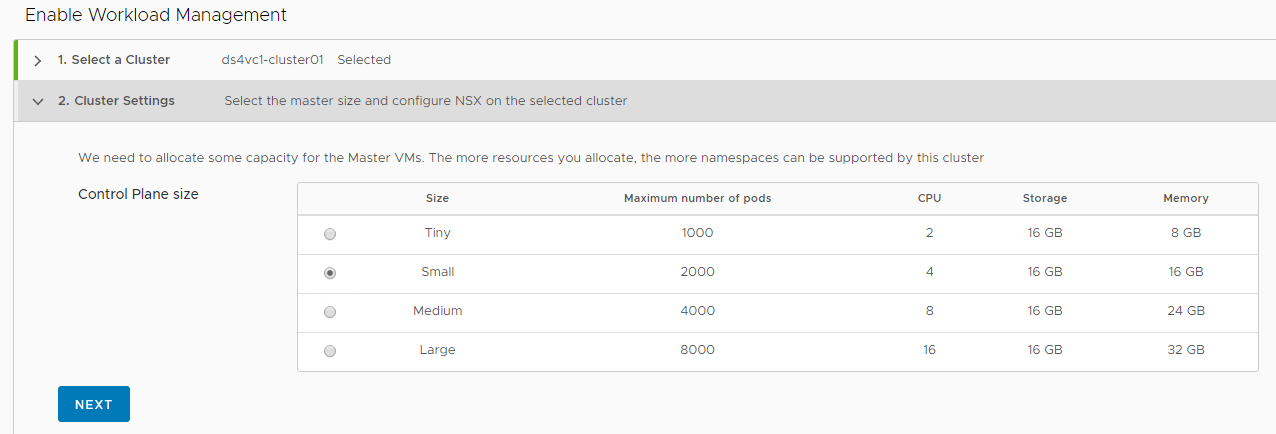
Specify your Control Plane Size
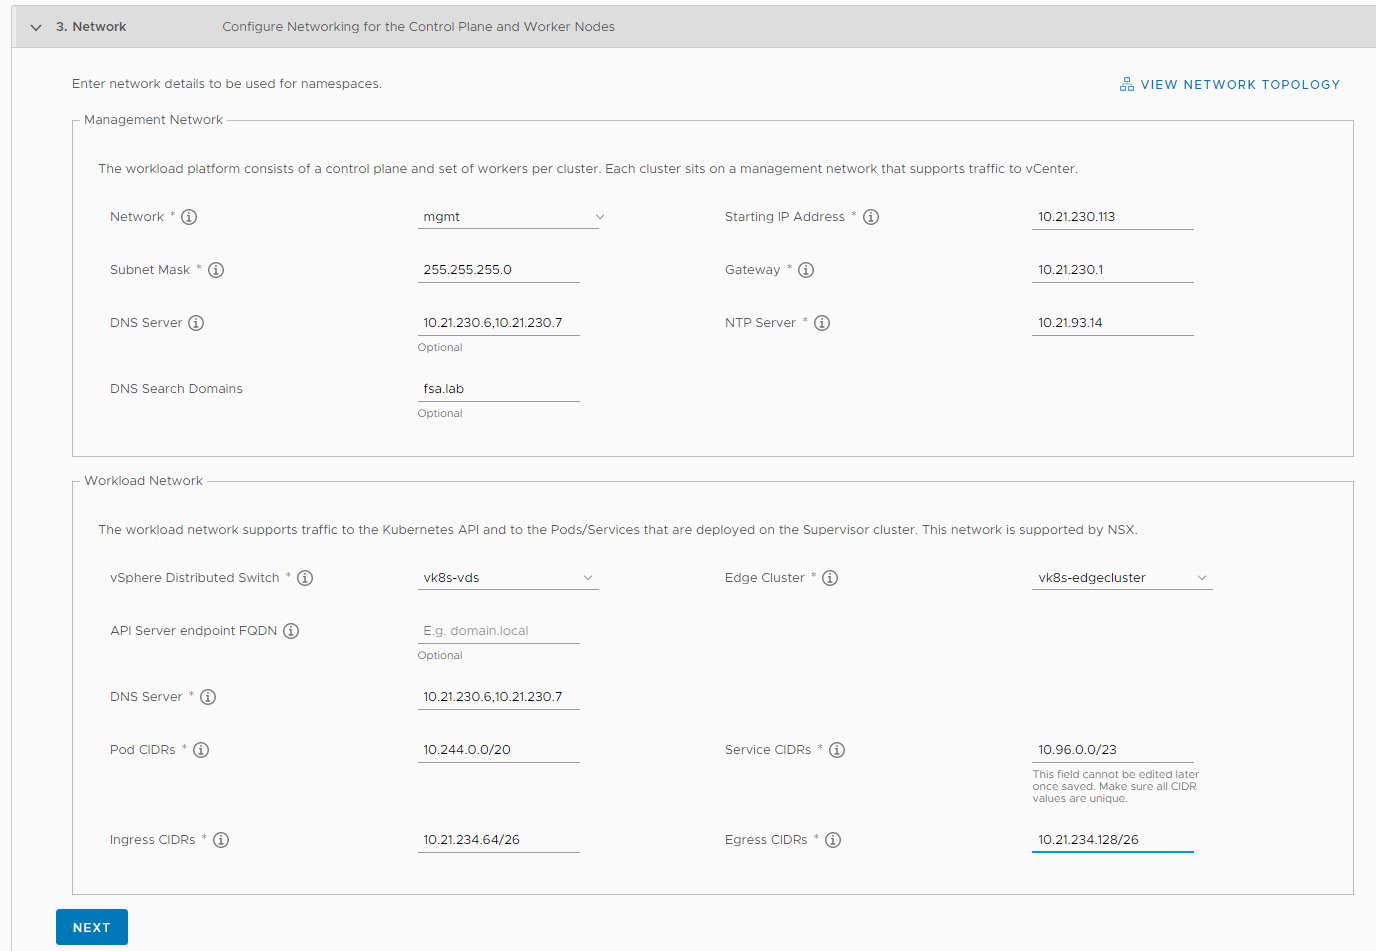
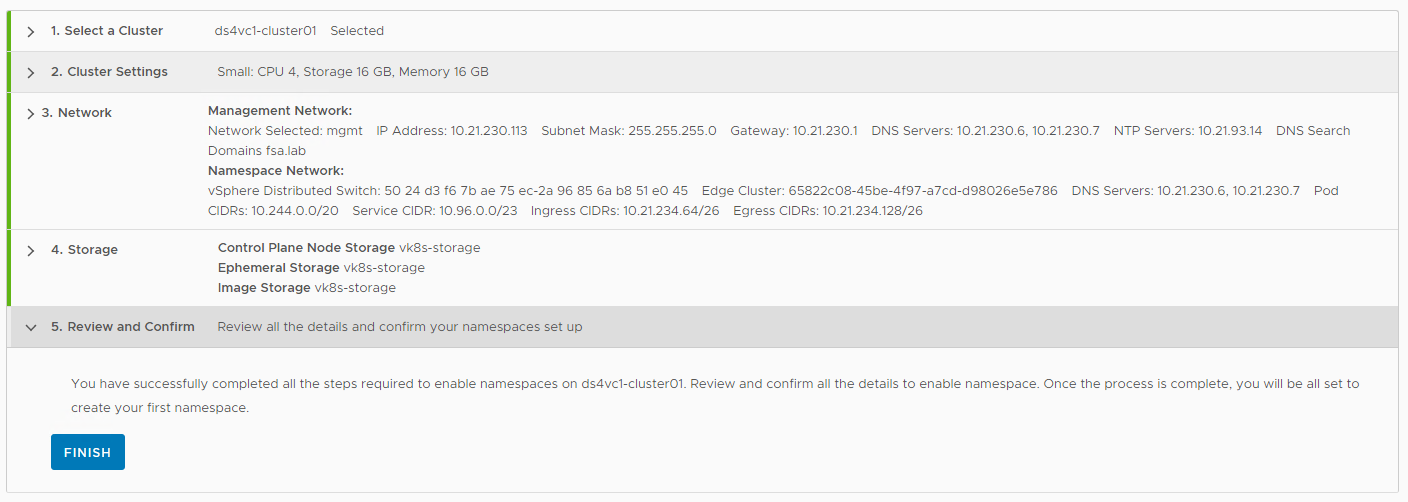
Specify your Network Settings, double and triple check your entries as if you need to change anything you currently must disable Workload Management and redeploy.
Specify your Storage, this will be the vm storage policy we created earlier.
Review your settings and click Finish.
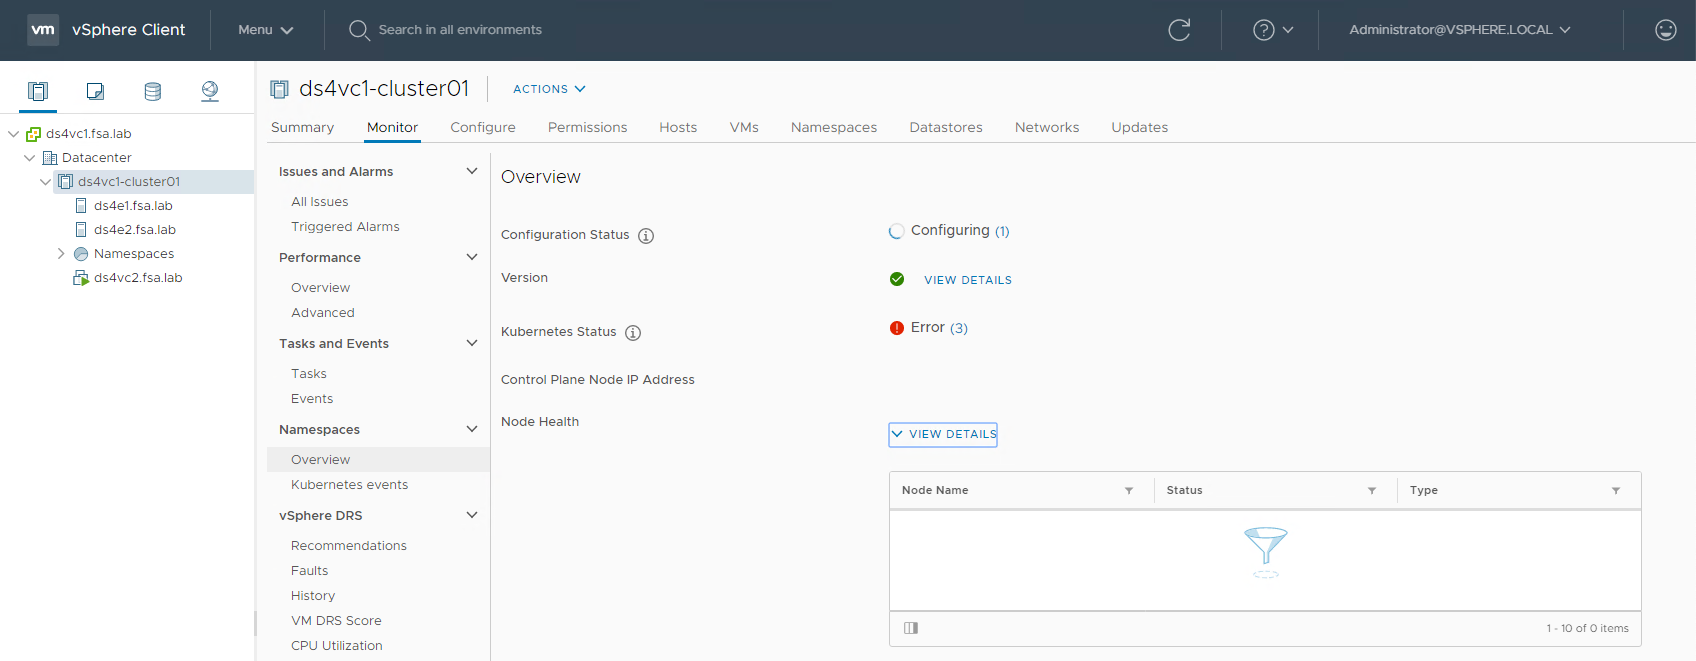
Workload Management will now be configured. This can take awhile depending on your environment. Expect at least 30 minutes. During this time the Kubernetes Status may show all sorts of errors. These can be ignored, focus on the state of Configuration Status
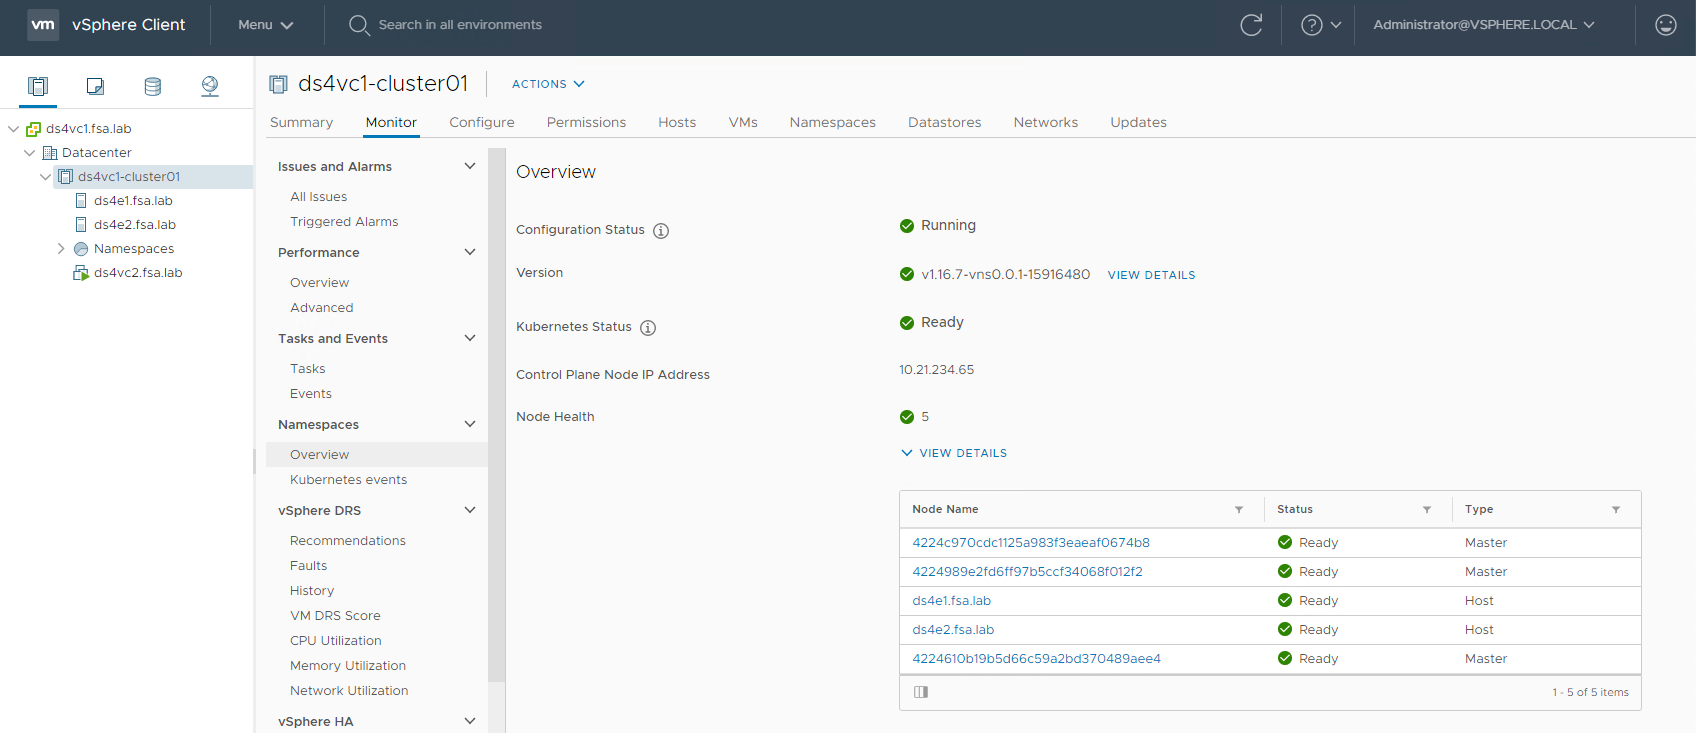
When the Configuration Status is Running and Everything is green. We can now proceed to use our vk8s environment.
Wrap Up
Enabling Workload Management is quite easy! VMware has made it extremely simple to enable a Supervisor Cluster. Stay tuned for the next post where we learn how to use and deploy workloads to our newly provisioned environment.
comments powered by Disqus